Making Chocolate with your French Students
Bring a delicious taste of Belgium to your French class! Here’s how:
There’s nothing more delightful than a creamy, melt-in-your-mouth bite of bitter-sweet dark chocolate! Since my first visit to Europe as a 19-year-old, chocolate has been a highlight of every transatlantic adventure. So, I was thrilled on my most recent trip to take this chocolate making workshop in Belgium! I highly recommend the experience if you’re ever in Brussels!

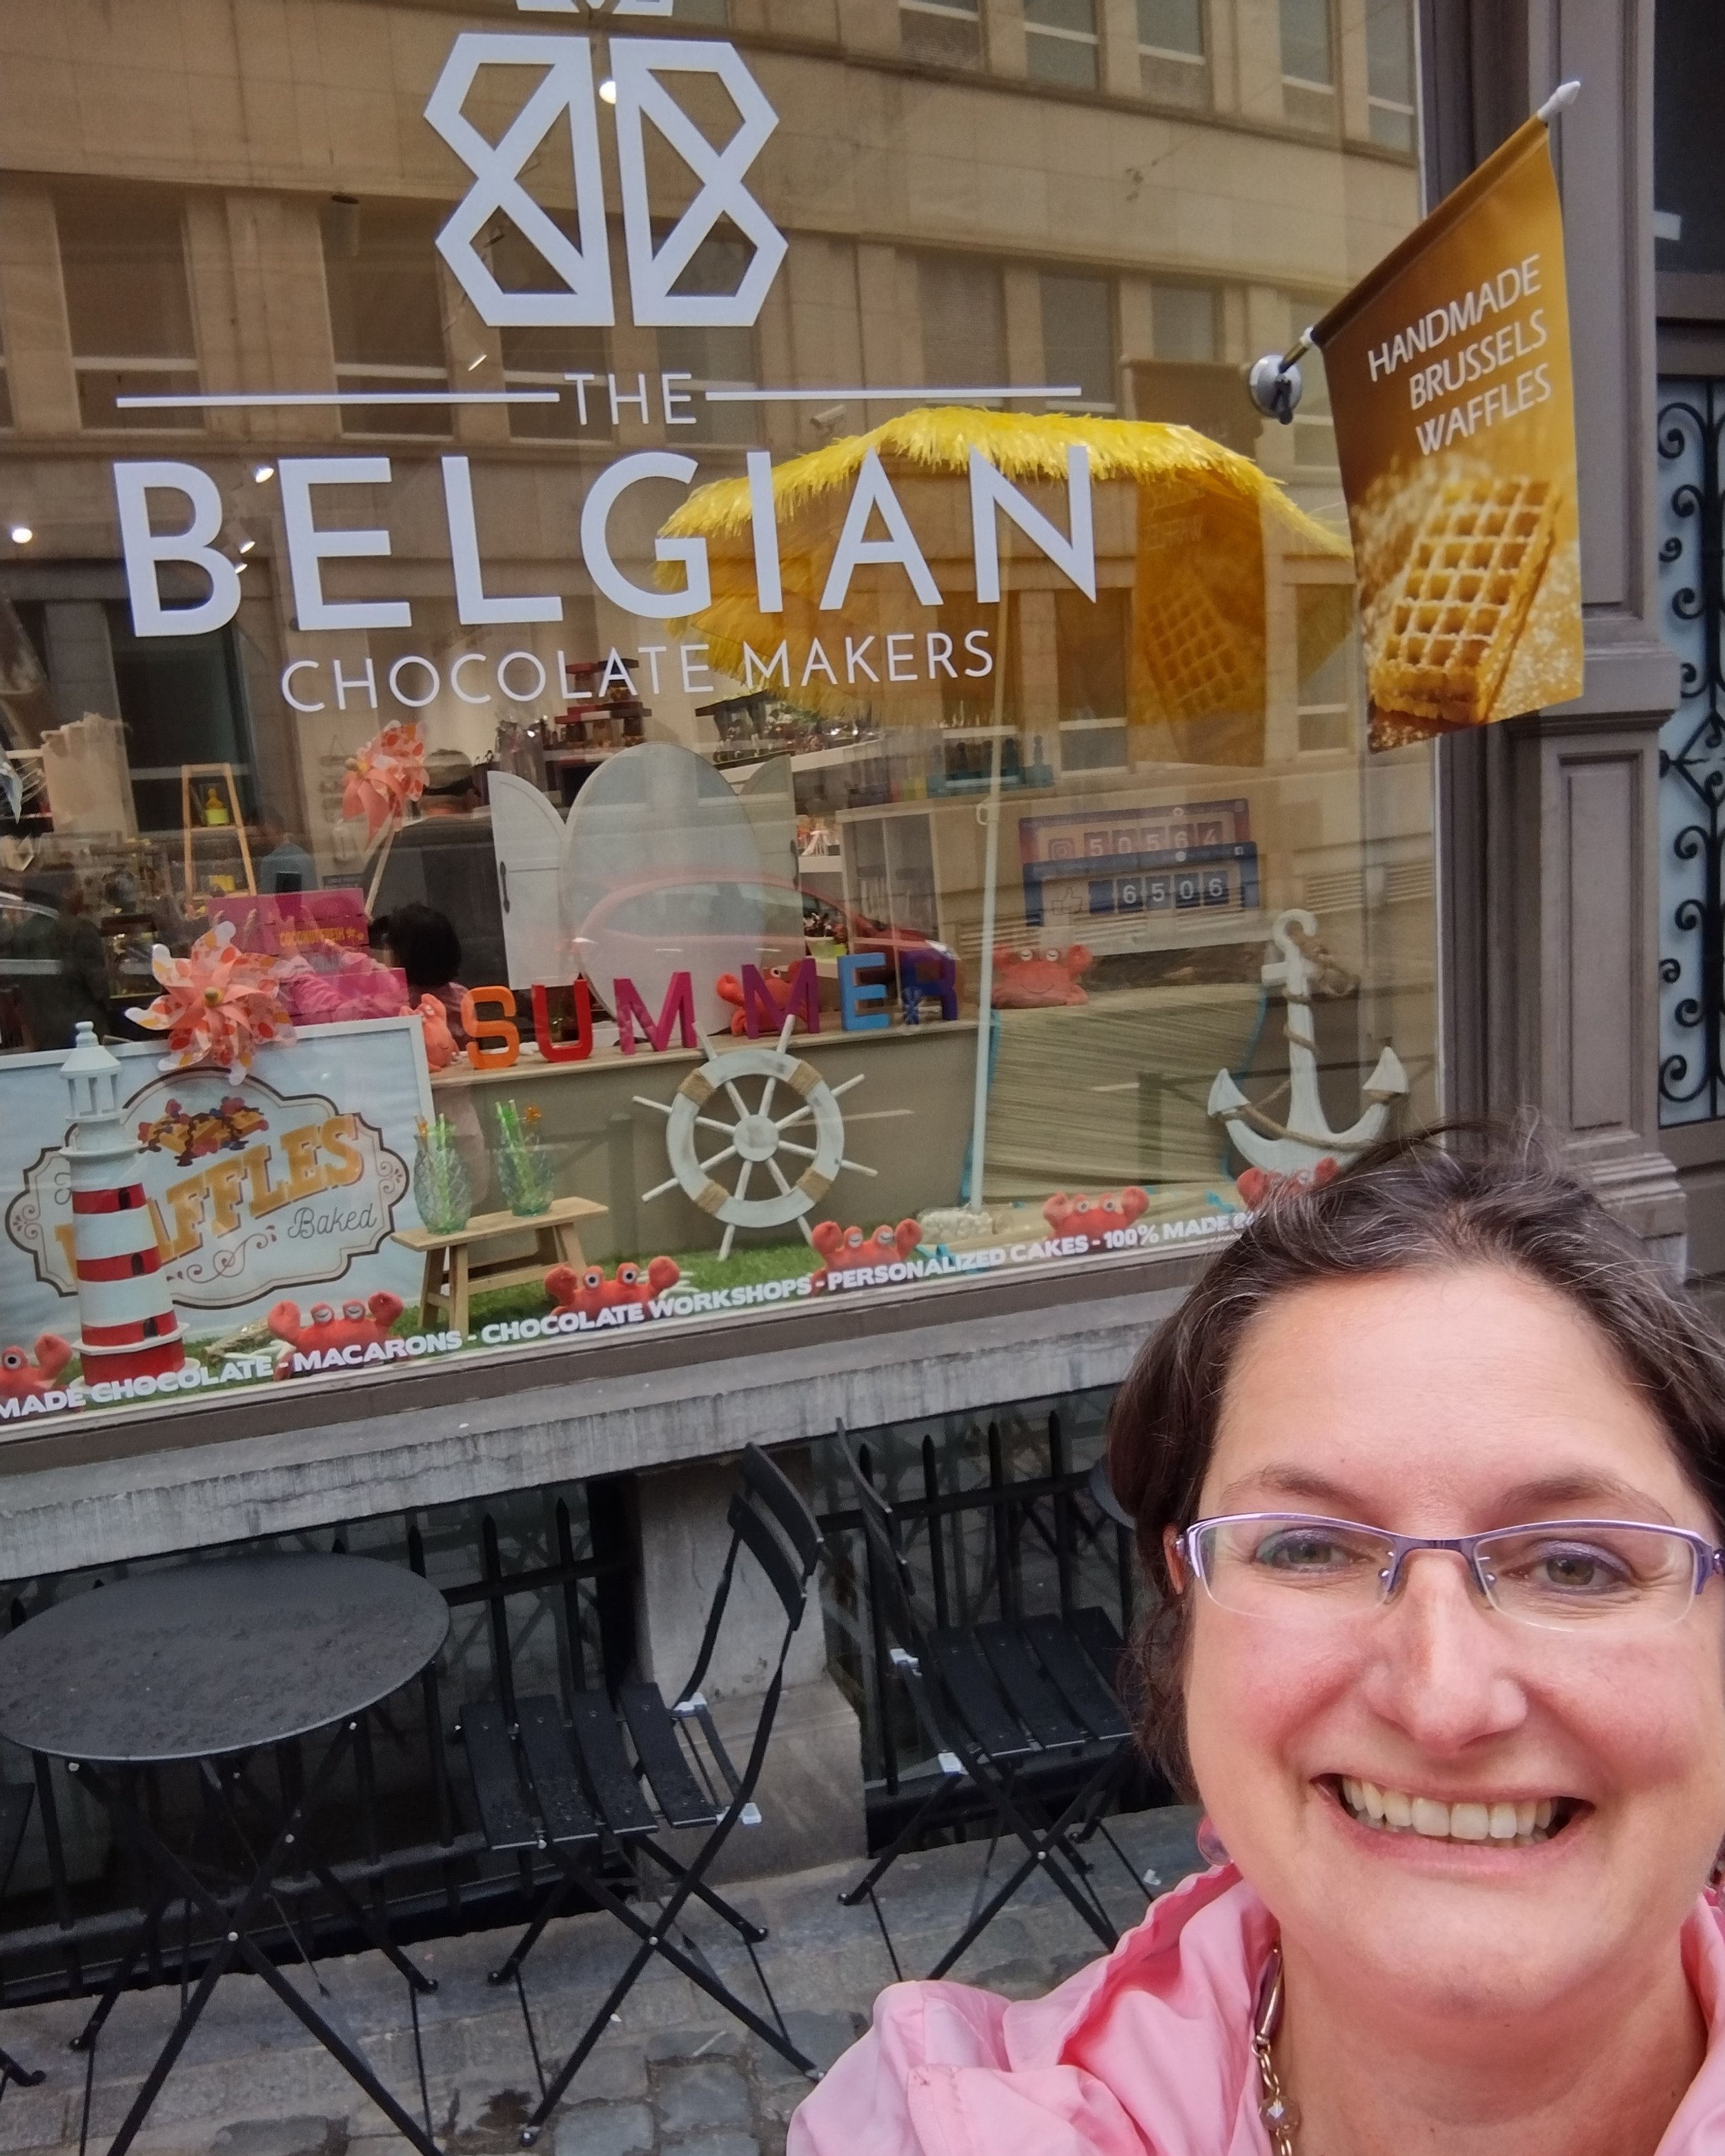
The Belgian Chocolate Makers’ shop in beautiful downtown Brussels
Ready to learn… and eat!
As part of the workshop, we learned how chocolate is produced. First, seed pods are harvested from cacao trees.

A seed pod from a cacao tree

Inside a seed pod
The seeds are dried, ground, pressed into liquid form (called chocolate liqueur), separated from the fat inside the seed pod (the cocoa butter), and combined with sugar and milk. This French-language video can help your students visualize the process.

Steps and ingredients in the chocolate-making process
Types of chocolate
white, milk, dark, and ruby chocolate
There are four major types of chocolate. According to European Union food standards:
White Chocolate - made with cocoa butter, sugar and milk (but no cacao)
Milk Chocolate - at least 25% cacao, with the addition of cocoa butter, milk and sugar
Dark Chocolate - from 35% to 100% cacao (with the rest being cocoa butter and sugar)
Ruby chocolate - a new type of chocolate, first released to the public in 2018. Ruby chocolate comes from a specific type of cocoa beans, and the process to release their natural pink color is a carefully guarded trade secret. Ruby chocolate has berry-flavored undertones, and is quite sweet. Try some if you get a chance!
In the US or other countries, the components of milk vs. dark chocolate may vary slightly from EU standards.
Today, European-style chocolate is much more available in the US than it was 20 years ago, which has perhaps diminished the magic of traveling to Europe. Even so, many of our students have never tasted high-quality chocolate, much less had experience making or preparing chocolate confections. I started looking for ways to share my love of chocolate in my classroom.
The easiest way is to purchase some nice chocolate from your local grocery store. You can get a bar for $3-$5 and share the sample with up to 20 students.

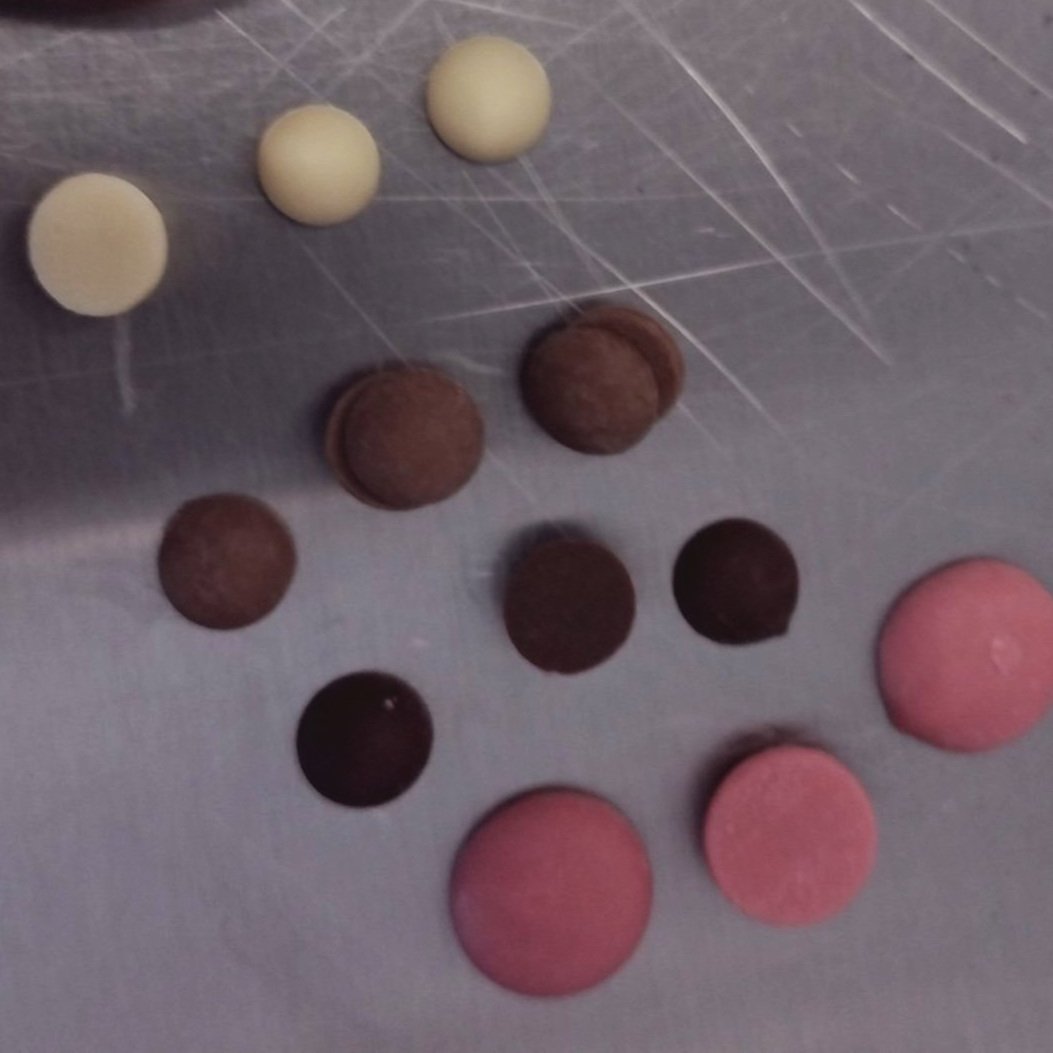
Professional dark chocolate mendiants
I wanted to take my love of chocolate even further and share a chocolate-making experience with my students.
In my Belgian chocolate class, we learned to temper chocolate and how to make several types of candies. For my students, I’ve found making mendiants (chocolate medallions with toppings) are a wonderful classroom activity that my students really love.
Here’s what you’ll need:

Supplies for making mendiants
Microwave and microwaveable plate
Quart size freezer bags (2 per student)
Parchment paper (1 square per student)
Meltable coating chocolate and white chocolate. I like the Great Value (Wal-Mart) brand because it comes in easy to measure squares in a perfect size for student use.
Toppings Selection
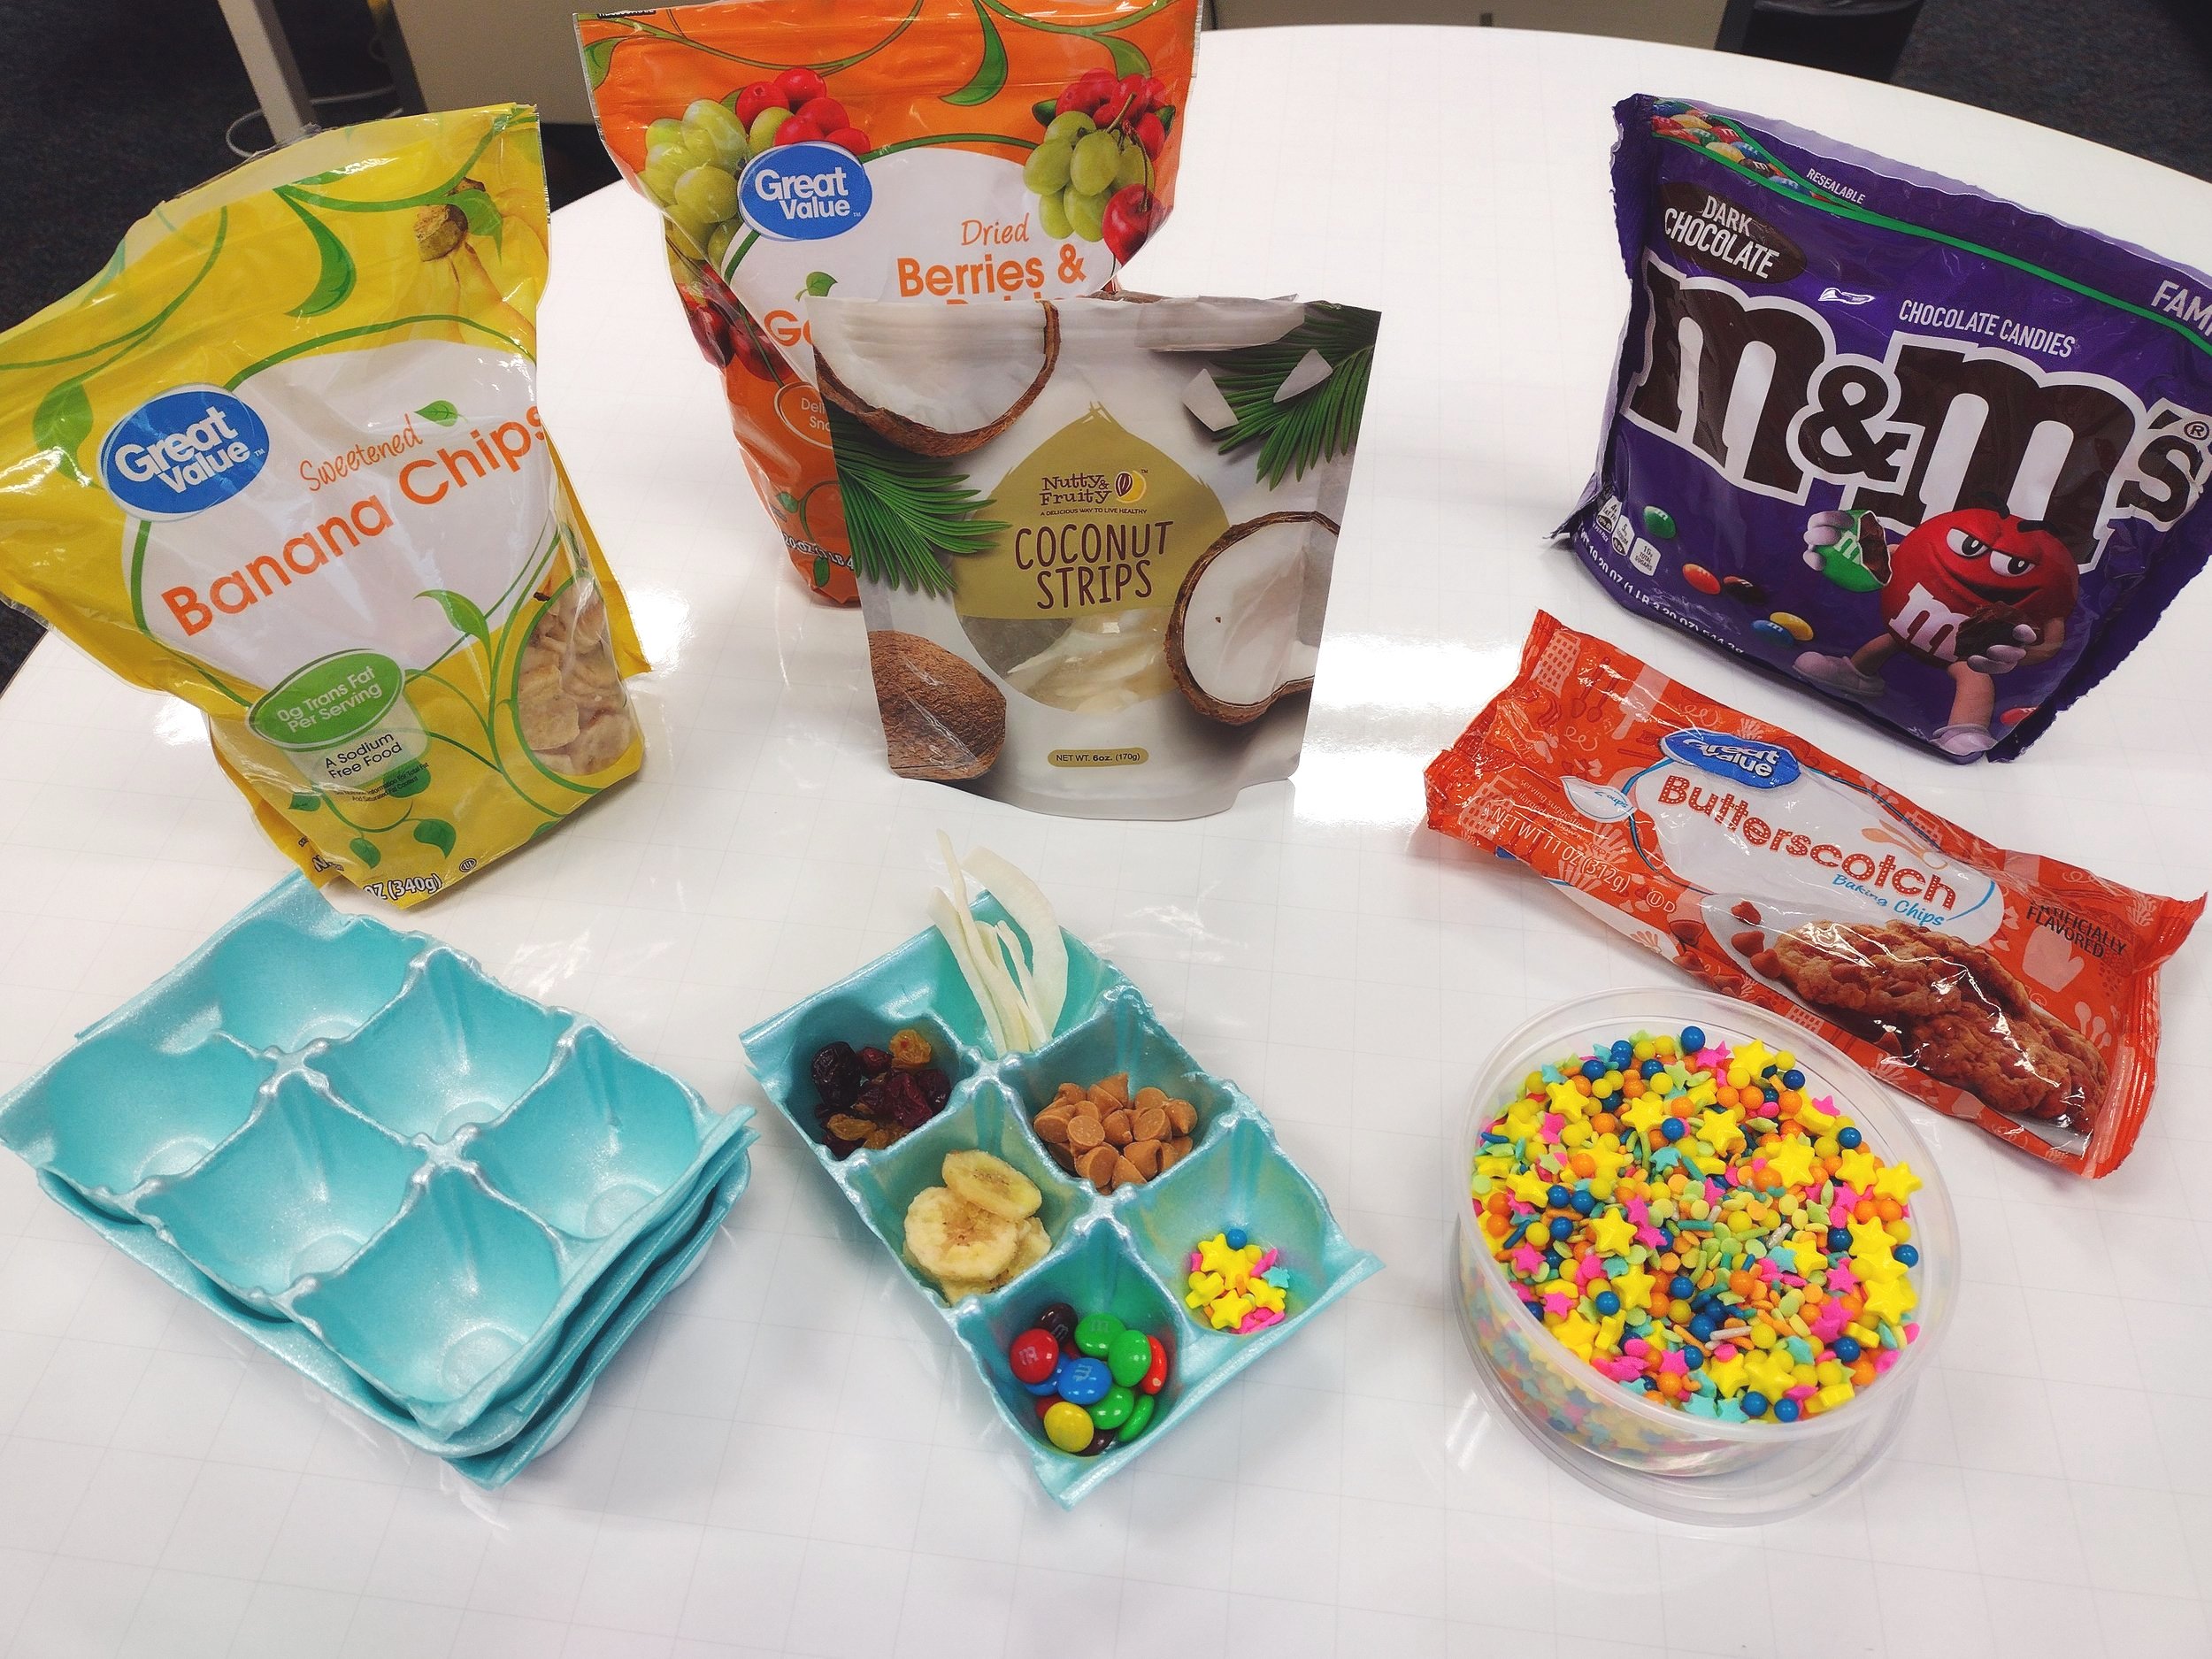
Easy-to-procure toppings to use in class
Dried cranberries, raisins, banana chips, other dried fruit
Dried coconut or coconut slices
Sprinkles
Chocolate candies like M&M’s
butterscotch, peanut butter, or white chocolate chips
cinnamon
Nuts (be sure you have no classroom allergies)
It’s nice to have an egg carton portion for each student to select their own toppings assortment. I use 6 egg cups per student.
Directions:

Put a square of chocolate in a freezer bag. Zip almost closed, but leave a small opening to vent. Microwave 1 minute. “Squish” the almost-melted chocolate, then microwave for another 15 seconds as needed to turn it to liquid. You can microwave multiple bags at once.
Have each student use an egg carton section to choose 6 toppings from the toppings bar. (Having their own toppings helps keep everything sanitary!).

Completely seal the liquid chocolate-filled bags. Give one to each student. Use scissors to snip a small hole in the corner of each bag. Students can squirt the chocolate through this hole to use as a piping bag.
I like to give students one bag of dark or milk chocolate and one bag of white chocolate.
Students can pipe small pools of chocolate onto their parchment paper. Add dried fruit, candy, or nuts to decorate. Or, try piping shapes or words (although these end up being quite fragile.)
Give the chocolate about 10 minutes to dry and harden. The white chocolate takes a bit longer to harden than the milk chocolate. If you can refrigerate the mendiants for a few minutes, they’ll be even firmer. Then eat or package in ziplock bags to take home.

Completed student mendiants

Pastry boxes, available online, are a convenient way for students to transport their completed confections

Students love experiencing this ‘taste of Belgium’ in class!
Have you made chocolate with your students? Share in the comments!